
Thêm hoặc xóa lịch iPad
Chỉ trong vài bước, lịch có thể bị xóa hoặc thêm vào iPad. Bạn có thể tìm hiểu làm thế nào để làm điều này trong mẹo thực tế này.
iPad: Thêm lịch mới
- Mở lịch trên iPad của bạn và nhấp vào nút "Lịch" ở trên cùng.
- Sau đó nhấn vào "Chỉnh sửa" ở góc trên cùng bên trái.
- Để thêm lịch mới, chọn tùy chọn "Thêm ..." trong bước tiếp theo.
- Đặt tên cho lịch mới và chọn màu bạn muốn lịch có sau.
- Lưu những thay đổi này bằng cách nhấn "Xong" hai lần.
Xóa lịch khỏi iPad
- Mở "Cài đặt" trên iPad của bạn và chuyển sang danh mục "Thư, Danh bạ, Lịch".
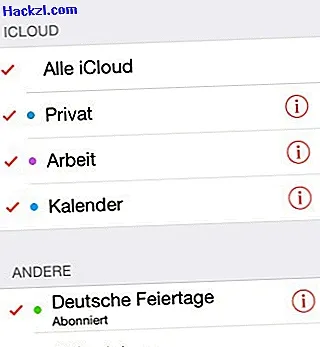
- Nhấn vào lịch bạn muốn xóa ở đây.
- Để xóa nó, chọn tùy chọn "Xóa đăng ký". Bạn phải xác nhận điều này bằng cách nhấp vào "Xóa đăng ký" một lần nữa.
- Sau đó, lịch không còn hiển thị và đã được xóa thành công.